The cost for replacing a residential roof can reach over $10,000. Fortunately, with the right care and maintenance, this is avoidable, especially by replacing shingles when needed.
While it’s always best to use professional resources, it’s possible to do this on your own. This makes for a great home improvement project while maintaining your house’s value.
Installing shingles onto your roof entails proper knowledge, preparation, and safety. Read on to learn more to see if you’re ready to take on the job.
Do Your Homework
Before you grab your ladder, remember not all roofs are the same. You’ll need to measure it to make sure you buy the right amount of shingles.
At a minimum, you’ll need a tape measure to do this. Having your home’s blueprints helps. There are a few different ways to calculate the surface area of your roof to determine how many shingles you’ll need.
Compared to metal roofing, regular roof shingles are a much more cost-effective option. While it’s okay to have some leftover for future use, you don’t want to be shorthanded.
What You’ll Need
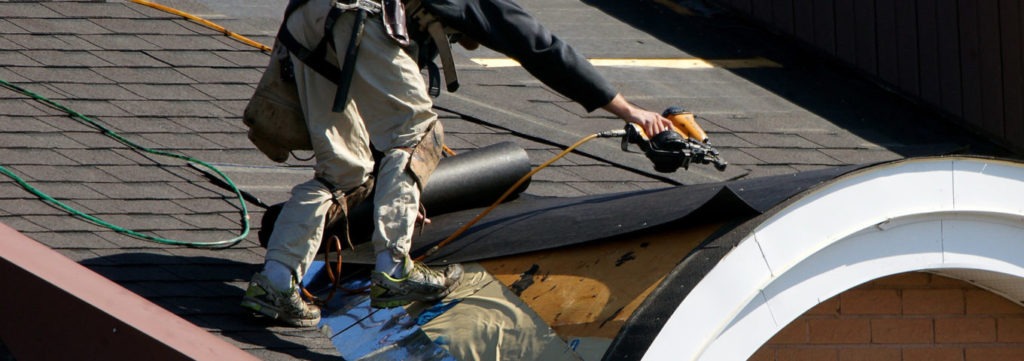
Aside from shingles and a ladder, you’ll need more tools to complete this project.
This includes a hammer, roofing nails, chalk line, and a cutting instrument. If available, you can use a nail gun in place of a hammer but isn’t a necessity.
Roofing nails are for securing asphalt shingles in place as opposed to regular nails that aren’t always strong enough. Chalk line helps with outlining straight edges to evenly lay down shingles. You’ll also want a knife or scissors handy for adjusting the size of a shingle to fit in certain areas, like the corner of a roof.
Be mindful of safety equipment as well. While you may feel comfortable in the familiar confines of your home, items like gloves and a harness help prevent injuries and lower the chances of you falling off your roof.
Check Your Roof’s Flashing
Before you lay any shingles down, make sure your roof’s flashing is properly installed. Flashing is standard with roof installation but can deteriorate over time if not monitored, so it’s vital for your roof’s longevity.
Flashing is sheet metal placed underneath shingles to ensure no leaks or seepage takes place. This can crack and wear down over time from natural elements like rain or heat. You’ll also need to make sure your roof’s underlayment is solidified, as this serves as another form of protection.
As you inspect the area of your roof to install shingles, be aware of any other potential issues or deformities to repair ahead of time and save you in the long run.
How to Install Singles
Once you buy the correct amount of shingles, gather the necessary tools, and reconfirm your roof’s flashing and underlayment, you’re ready to begin.
There’s technically no one standard direction for installing shingles, but the best method is working from the bottom up diagonally. This works best going from left to right.
Use a starter strip at the bottom to build a base off of and have it extend about half an inch over the edge of the roof. Plan before nailing down your shingles by using chalk lines to map out where each one will go.
Remember, installing shingles is not a simple task and involves preparation and roofing knowledge. Always be cautious when taking on home improvement projects to ensure both your house’s safety as well as your own.
Are you interested in how to install shingles onto your roof or want more information about improving your home? Contact us to learn about how we can help.